How to Correct Perspective Distortion in Real Estate Photos
How to Correct Perspective Distortion in Real Estate Photos
Real estate photography is a crucial component of marketing a property. It can make or break a sale, depending on the quality of the images. However, sometimes, real estate photos can suffer from lens distortion, which can make them look unprofessional and unappealing. In this blog post, we will discuss what lens distortion is and how to correct it in real estate photos.
What is Lens Distortion?
Lens distortion is a phenomenon that occurs when a camera lens fails to capture straight lines correctly. It causes objects in the image to appear bent or warped, which can be especially noticeable in images of buildings or interiors. Lens distortion can be divided into two types: barrel distortion and pincushion distortion.
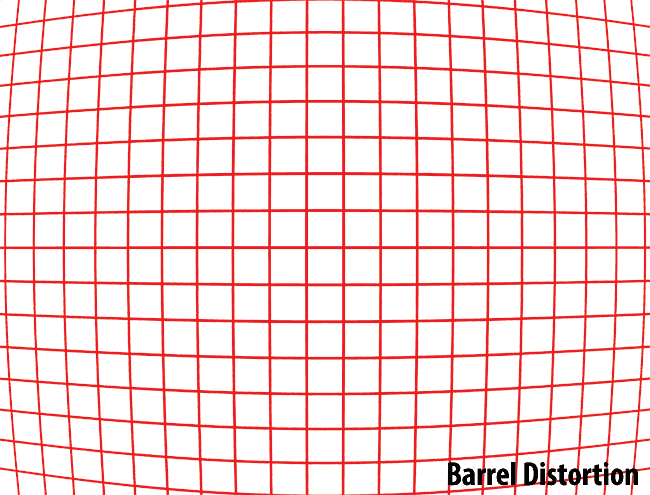
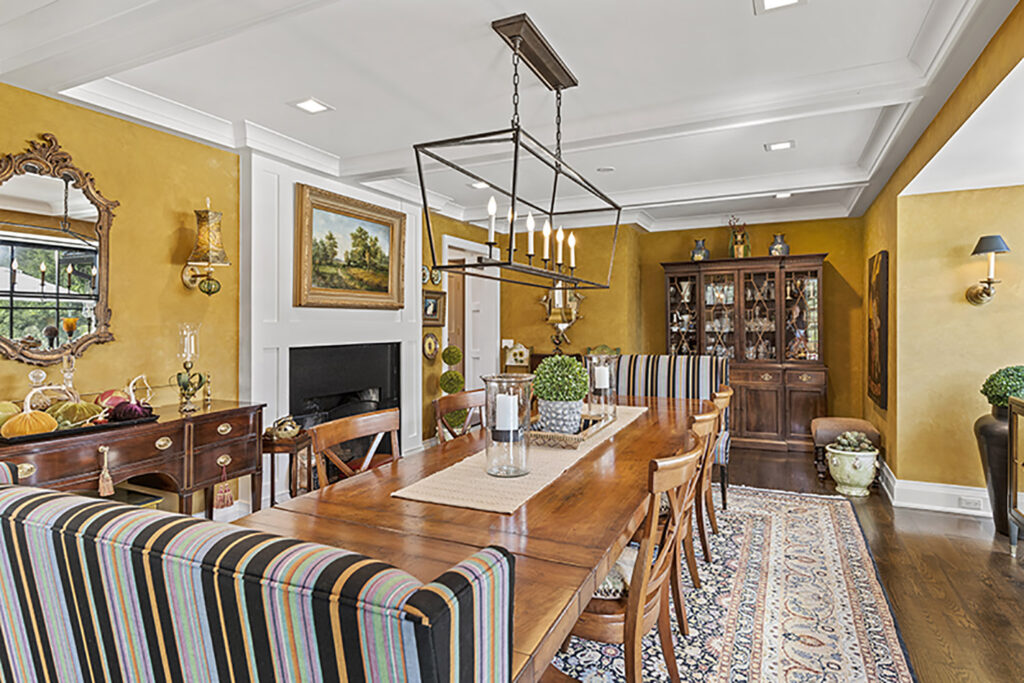
Barrel distortion is characterized by the image appearing to bulge outward in the center, making straight lines appear curved inward toward the edges. This type of distortion is commonly seen in wide-angle lenses.
An example of Barrel distortion
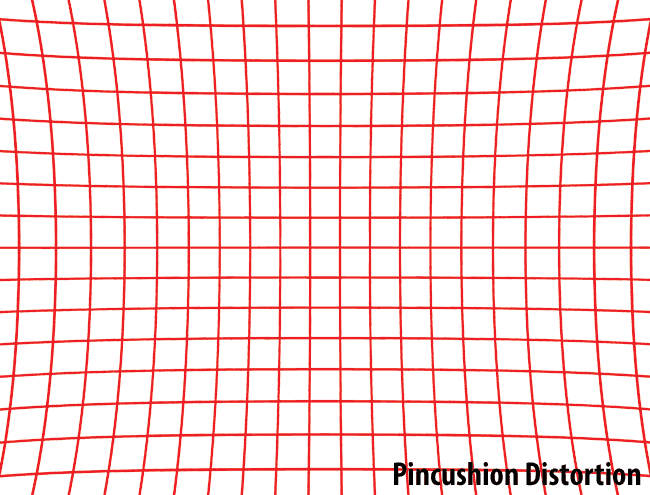
Pincushion distortion, on the other hand, causes the image to appear to bulge inward at the center, making straight lines appear curved outward toward the edges. This type of distortion is commonly seen in telephoto lenses.
An example of Pincushion distortion
How to Correct Lens Distortion
Fortunately, lens distortion can be corrected using photo editing software such as Adobe Photoshop or Lightroom, Camera Raw. Here are the steps to correct lens distortion in your real estate photos:
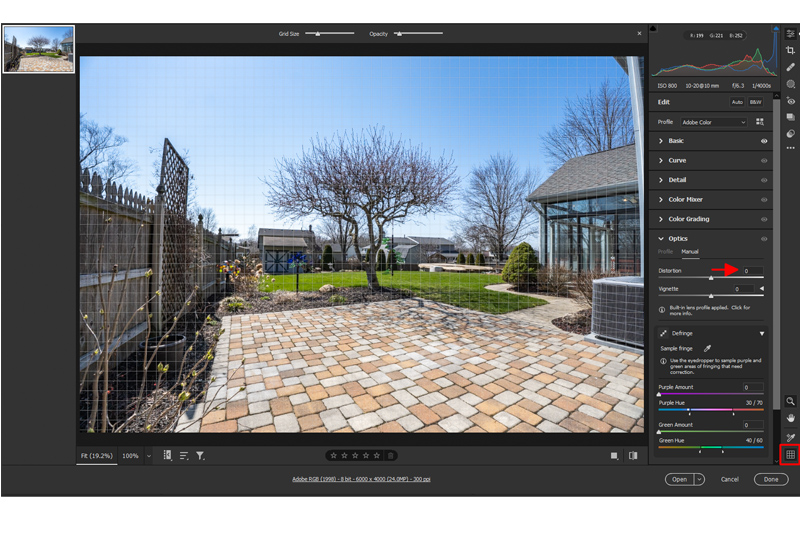
Step 1: Open the image in Photoshop or Lightroom and select the Lens Correction tool.
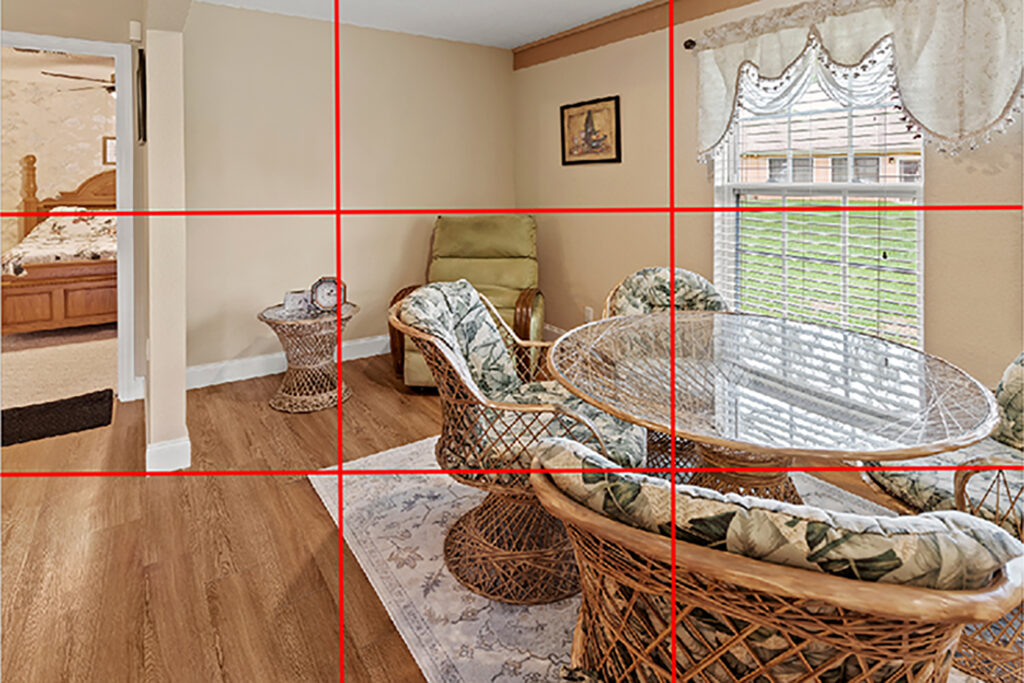
Step 2: Click on the “Manual” tab and adjust the sliders until the lines appear straight. Remember turn on Grid lines to check.
Click on the "Manual" tab and adjust the sliders until the lines appear straight.
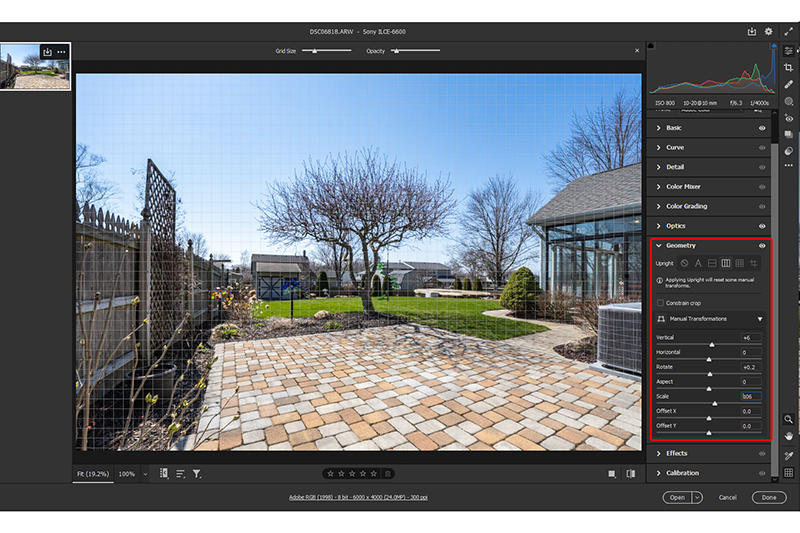
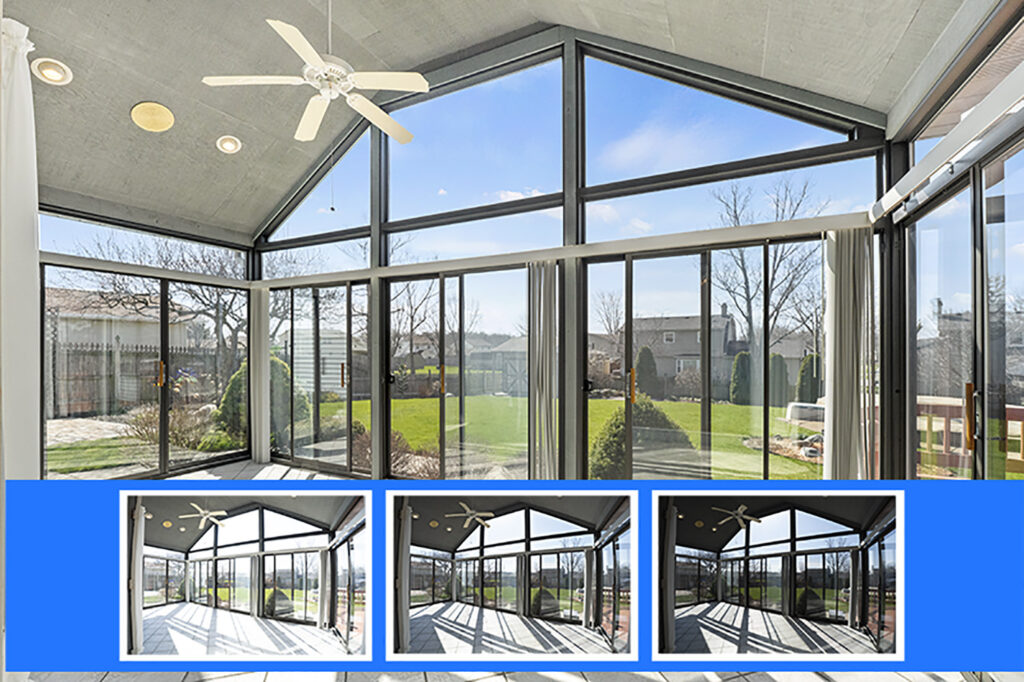
Step 3: Go to Geometry and adjust sliders to remove any blank areas that appear after correction.
Go to Geometry and adjust sliders to remove any blank areas that appear after correction.
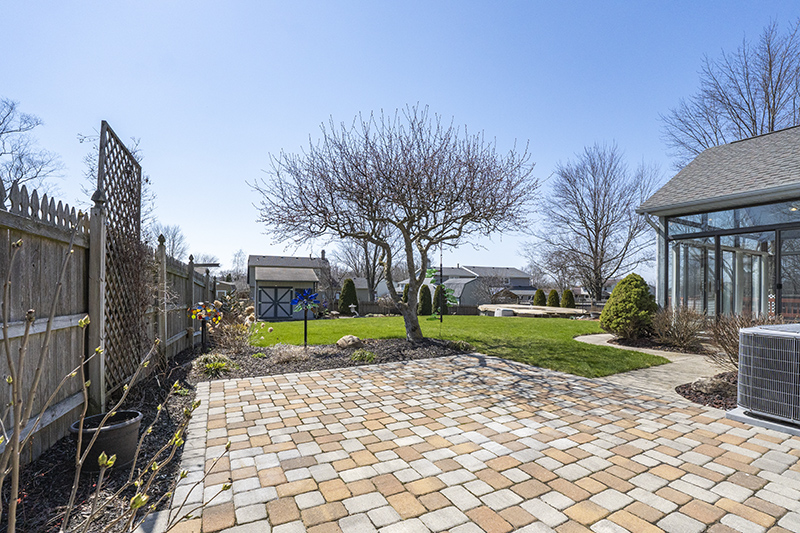
Step 4: Save the image and export it in the desired format.
By following these simple steps, you can correct lens distortion in your real estate photos and create professional-looking images that will attract potential buyers.
Conclusion
If you find correcting perspective distortion challenging, or if you don’t have the time or expertise to edit your real estate photos, Photomont.com can help. Our real estate photo editing services are designed to help you achieve stunning results without the hassle of learning complex editing tools. Our team of expert editors is well-versed in correcting perspective distortion and enhancing your photos to bring out the best in each image. By outsourcing your editing to Photomont, you can save time, reduce your workload, and focus on what you do best – capturing beautiful real estate photos.
Visit Photomont.com today and see how we can help you take your real estate photography to the next level.
Author:
Photomont
Share This Article:
Recommended Articles
Limited-Time Offer: Save 10% on Your First Order with Photomont!
min read
The Future of AI in Real Estate Photo Editing: Balancing Automation with Human Expertise
min read
How to Create Stunning Real Estate Twilight Photos
min read
Recommended Articles
Limited-Time Offer: Save 10% on Your First Order with Photomont!
min read
The Future of AI in Real Estate Photo Editing: Balancing Automation with Human Expertise
min read
How to Create Stunning Real Estate Twilight Photos
min read
Limited-Time Offer: Save 10% on Your First Order with Photomont!